Why the calmest nurseries I design actually run on two storage systems, not one
Japandi nursery storage gets harder the moment a baby becomes a toddler, not easier. In the newborn months, storage is simple: a few baskets, a folded stack of muslins, nothing that needs organising because nothing is moving itself around the room yet. Then a child starts walking, opening things, and emptying every container within reach, and the pared-back nursery you designed a year ago stops holding its shape by lunchtime.
- 7 Mistakes to Avoid When Styling a Japandi Playroom for Young Children
- Japandi and Child-Friendly Design: Creating Serene Nurseries and Playrooms
- Tatami in a Home with Children: The Honest Guide to Choosing, Using and Living with Tatami in Kids’ Rooms
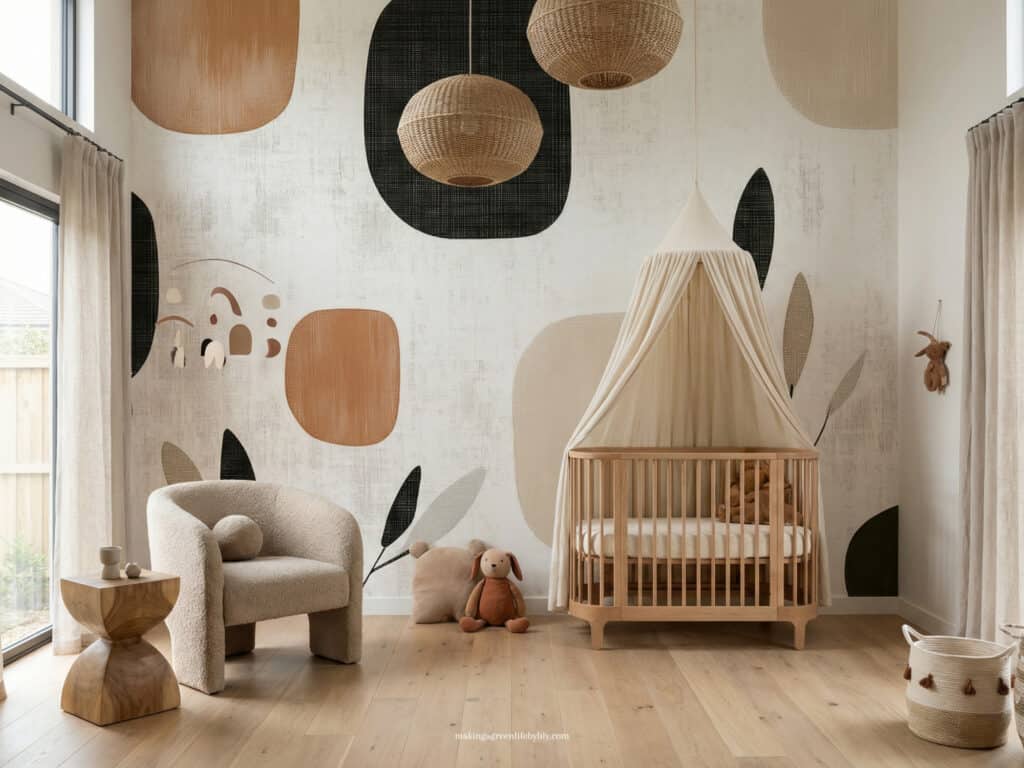
I get asked about this constantly, usually from parents standing in a nursery that looked serene in the twelve-week-old phase and now looks like the aftermath of something. The instinct is to buy more baskets. The actual answer is different, and it’s the thing I want to walk through properly here.
Why japandi nursery storage needs two systems, not one
The mistake I see most often is treating nursery storage as a single problem with a single solution, usually either “hide everything” or “leave everything open.” Neither works on its own once a toddler is involved. A room where everything is hidden behind closed doors looks calm in photographs and is genuinely unusable for a child who can’t open a cabinet, which is exactly the trap I’ve written about in the context of playrooms more broadly.
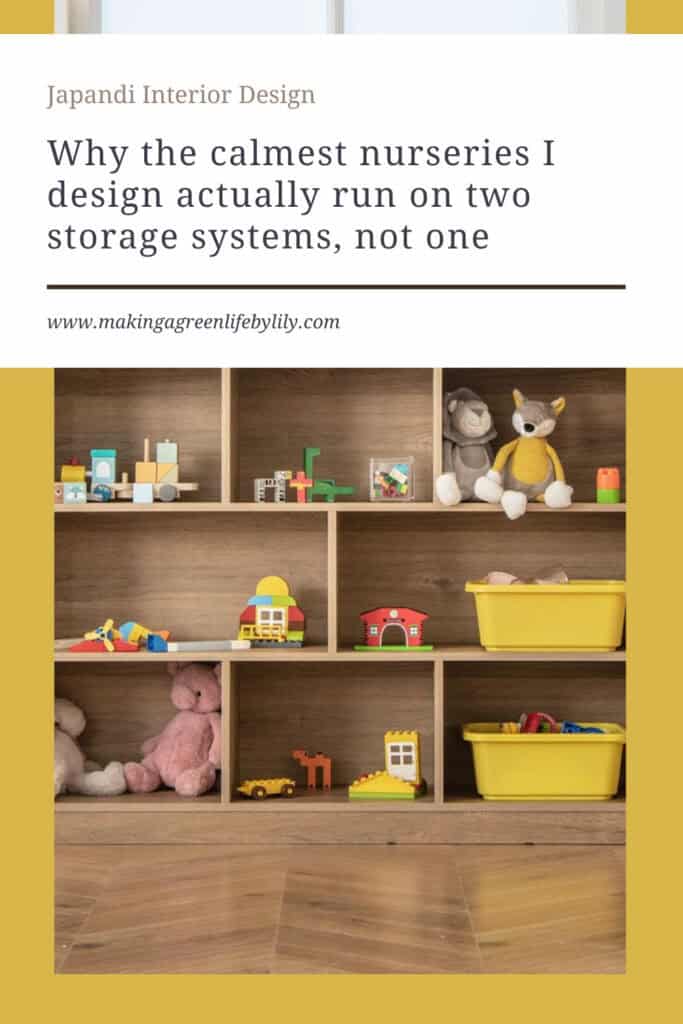
What actually works is running two systems side by side. The first is open, low, child-height storage for the handful of things your toddler uses every single day: a rotating selection of toys, a couple of favourite books, the comfort object that needs to be visible and reachable at all times. The second is closed, hidden storage, properly out of a toddler’s reach or interest, for everything else: out-of-season clothes, spare bedding, the gifts you’re rotating in next month, the growing pile of things a one-year-old owns but doesn’t need in view. That second system is the “hidden storage edit” in the title, and it’s the part almost nobody designs for properly.
The pieces I actually specify for the hidden half
For the hidden system, I lean on a small number of pieces that do a lot of quiet work. A tall, narrow wardrobe or armoire with real depth, so out-of-season clothing and spare linens go in a single considered place rather than spreading across drawers throughout the room. A blanket box or storage ottoman at the foot of a chair, which holds the overflow of soft toys and spare throws that would otherwise clutter open shelving. And, where the room allows it, a single closed sideboard along one wall, deep enough to store nappies, changing supplies, and the rotating stock of toys you haven’t introduced yet.
The material choice matters as much as the piece itself. I specify solid wood or a properly finished ply over anything laminated, because these pieces get opened and closed dozens of times a day for years, and a cheap hinge or a chipping veneer shows that wear within months. A closed cabinet is only calming if it still looks considered after two years of daily use.
What stays visible, and why that’s the whole point
The open half of the system is deliberately smaller and more selective than most nurseries I’m shown. One low shelf, at a height your toddler can reach without help. One or two woven baskets with liners, holding the toys currently in rotation rather than the entire collection. A single low hook for a favourite jumper or bag. Everything visible in the room should be something your child is meant to use independently, because that’s what teaches a toddler to actually put things away, a point I go into in more depth in my guide to Japandi child-friendly design for nurseries and playrooms.
I worked with a family recently whose eighteen-month-old had access to roughly six toys and two books on open shelving at any time, with everything else stored in a closed wardrobe and rotated in every few weeks. The room looked, and felt, dramatically calmer than nurseries with three times as many toys permanently on display, and the child still had everything she needed within reach. Less visible, not less available, is the distinction that makes the whole approach work.
Laying it out in a real room
In a typical nursery, I’ll put the closed wardrobe or sideboard against the wall furthest from the play area, so it reads as furniture rather than storage when you walk in. The open shelf and baskets sit at the child’s actual play spot, low enough to use without a parent lifting them down. If space allows, a storage ottoman doubles as extra seating for story time, which is one of the small multi-use decisions that keeps a nursery from feeling over-furnished. For the wider thinking on making storage work across a whole home rather than room by room, I’ve written more in my guide to optimising storage in a Japandi living room, and the same logic scales down neatly into a single nursery.
Final thoughts on Japandi Nursery Storage That Keeps Up With a Toddler: The Hidden Storage Edit
Japandi nursery storage that survives the toddler years isn’t about choosing between calm and chaos. It’s about deciding, deliberately, what your child needs to see and reach, and what can live quietly out of sight until it’s needed. Get that split right, in solid, well-made pieces, and the room stays genuinely calm rather than just photographing that way for the first few months.
If you’d like help planning a nursery that’s built to survive the next three years rather than the next three months, my e-design service is exactly built for this kind of room-by-room thinking, and I work with families remotely wherever you’re based.
Related Japandi Articles:
- Japandi Child-Friendly Design: Creating Serene Nurseries and Playrooms
- 5 Ways to Optimise Storage in a Japandi Living Room
- How to Create a Family-Friendly Japandi Home
- Avoid These 7 Mistakes When Trying Japandi Style
- 10 Core Principles I Follow When Designing Japandi Spaces As an Interior Designer
- Tatami in a Home with Children: The Honest Guide
- 5 Elements of Japandi
- 7 Thoughtful Ways to Make Your Living Room Feel More Japandi
- 5 Tips on Japandi Design for Small Homeowners
- Slow Living Starts at Home: The Lifestyle Behind Japandi Design
Japandi Nursery Storage That Keeps Up With a Toddler: The Hidden Storage Edit